Case notes
Case notes are snippets of text, images, or locations that can be added anywhere in a contact’s record. These can be added by the user and by all collaborators for a contact.
Whenever a case note is modified in any way, a history of who which user made the change and all prior revisions of the note are preserved.
Adding a note
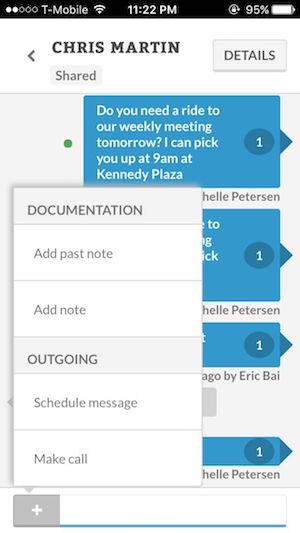 For any contact, case notes can be added by pressing the plus button next to the text input field.
Doing so reveals two options under Documentation:
- Add note adds a note as the most recent entry in the contact record
- Add past note allows the user to add a note at anywhere in the contact record
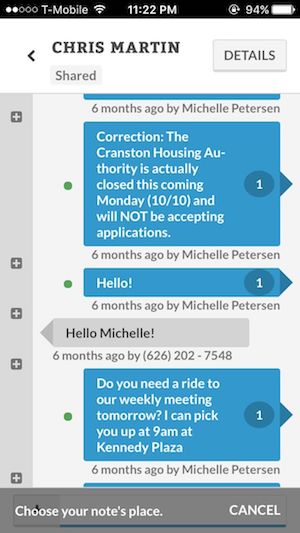 Assume that we selected Add past note in the previous menu. This will reveal a column of plus marks. Select one of the plus marks to insert a new note at that point in the contact’s record.
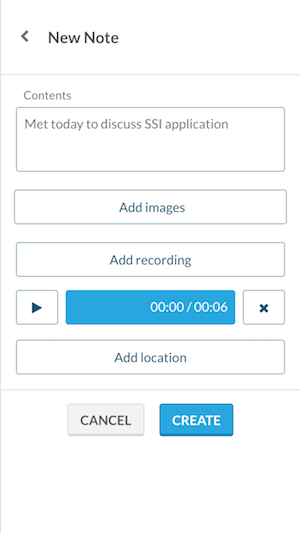 When creating a new note, pressing Add images allows the user to attach photos to the new note. On mobile devices, the user can add an existing photo or take a new photo and attach it right away. On devices that support recording audio, you will also be able to record audio memos and attach these to notes.
Some devices may not currently support recording audio. For those devices, the option to attach audio recordings will not be shown.
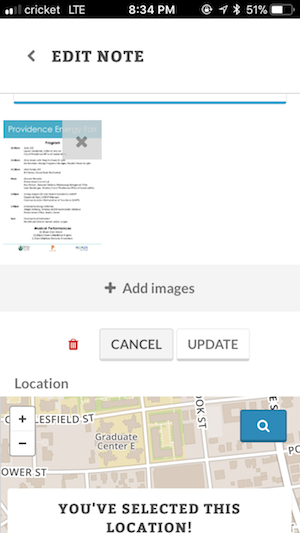
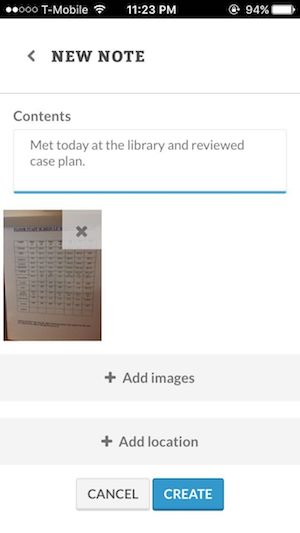 Assume we have finished attaching an image to the note we are trying to create. We see that our note now has text as well as an image. Notes can have up to 10 images.
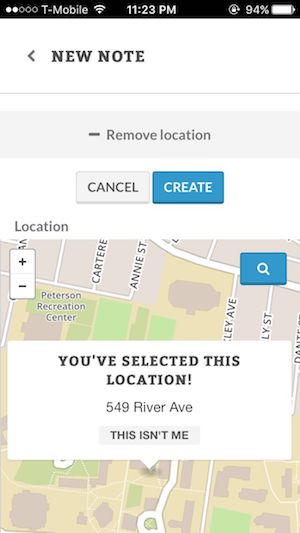 We want to also associate our note with a certain location. Assume we selected the + Add Location option in the previous image. Doing so reveals a map in which we can enter the desired address.
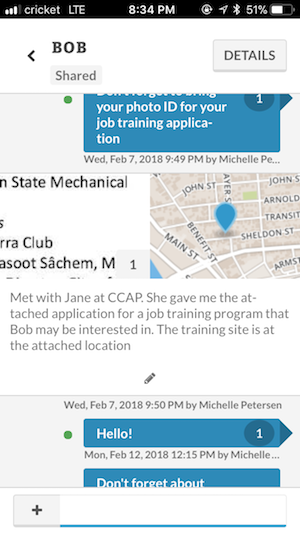
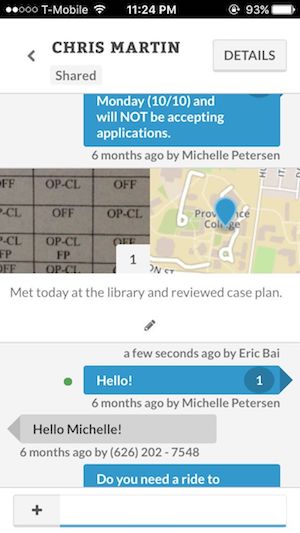 After a new note is successfully created, the note now can be viewed in the flow of the contact record.
Tapping on the map reveals the address. Tapping on the images reveals a larger version of the image for further examination.
Selecting the pencil icon under the text allows the user to edit this note.
Viewing edit history
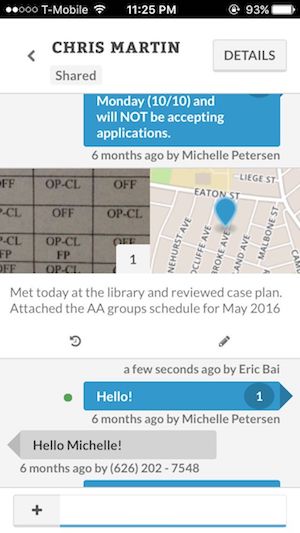 After a note has been edited, all previous versions of the note are saved in the note history. Selecting the clock icon reveals the note history.
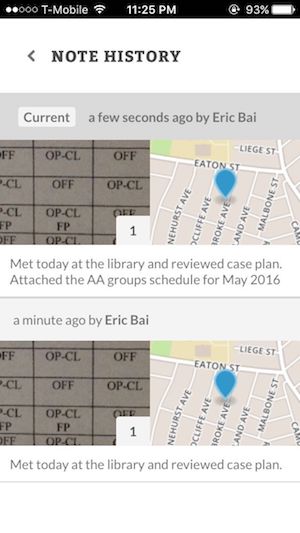 This is the note history. Listed here are all previous versions of this note, when the change was made and which user made this change.
Deleting a note
 When you want to delete a note, first go to the note and select the pencil icon to open the edit menu.
 After the edit menu is open for this particular note, select the trash can icon next to the Cancel button.
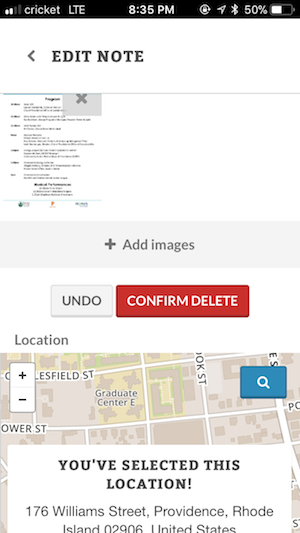 Confirm the delete to delete the note.
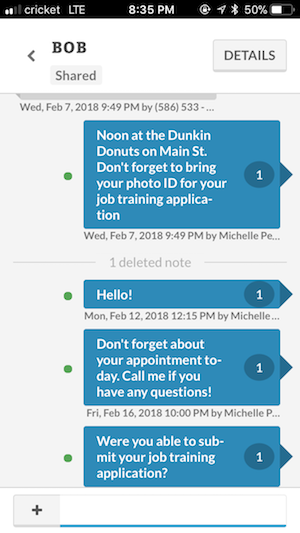 After the note has been successfully deleted, we see that the note has been replaced by small text indicating that a note previously was shown in this location. If we select the 1 deleted note text, we can view deleted notes and restore as needed.
TextUp does not allow permanently deleting notes to comply with data storage requirements often observed in social services or healthcare.
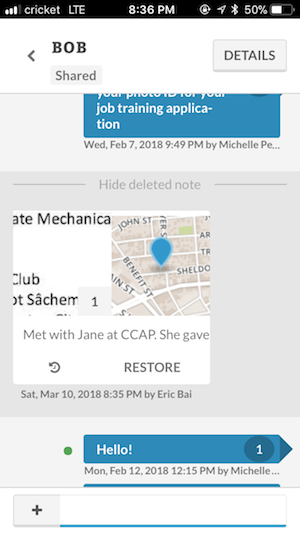 After selecting the 1 deleted note text, we can view and restore previously deleted notes.